Arduino Nano bootloader flashing jig
By Vince on 2015-10-18, 18:07 - Electronics - Permalink
I'm a huge fan of cheap Arduino Nano clones that you can find for less than 2 USD (shipping included) on AliExpress and the likes.
Only issue is that some come without a bootloader burned in, so they need to be flashed but I didn't want to solder pin header just for that one-time operation and build a little jig for that purpose.
These Nano clones use an obscure CH340 USB/Serial controller instead of the expensive FTDI one of official Arduinos, but since the FTDIgate, I'm happy to steer clear from FTDI alotgether. The driver is in Chinese so you are greeted with weird messages upon installation, but apart from that, it works flawlessly.
What is great with the Nano design is that, as it includes a serial/USB chip (just like the big Arduino Uno), you don't need any specific hardware to (re)program it using the Arduino IDE. And, as it is much smaller and cheaper, it's the perfect candidate for small "set-up and forget" projects.
For those unfamiliar with the Nano, here is what it looks like :
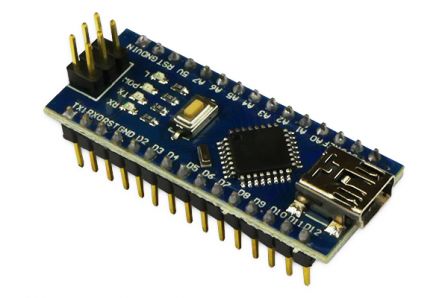
As I said, probably for economical reasons, the cheapest clones don't have a bootloader burned in, so this has to be done once and for all (nothing complicated with a small USB ASP programmer and the Arduino IDE).
For the same reason, and probably to avoid damages when shipping, those also don't come with the headers soldered, which is a good thing, because you're free to keep them bare and include them in small enclosures, or to populate the headers if you prefer.
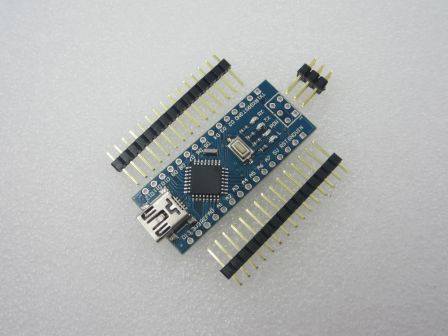
However, as you can see in the first picture, the programming header through which you can burn the bootloaded (the group of 6 pins at the back) makes the whole thing much taller than needed, and it's a bit silly to solder the headers, burn the bootloader, and unsolder them...
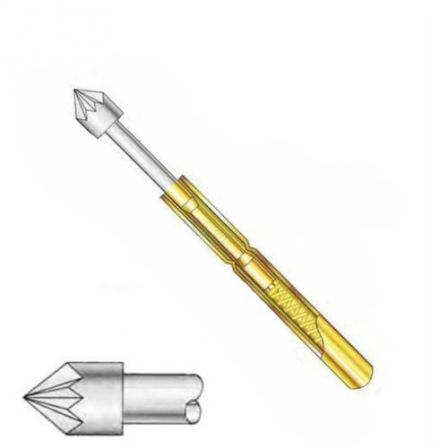
So I thought the solution could be to burn it through a set of temporary connections known as pogo pins :
So I ordered a pack of those.
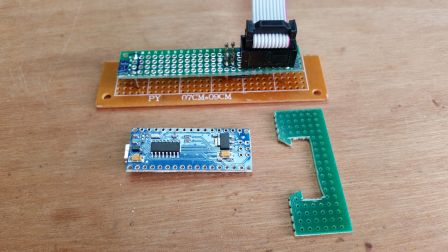
The result is not very professional but hey, it works 
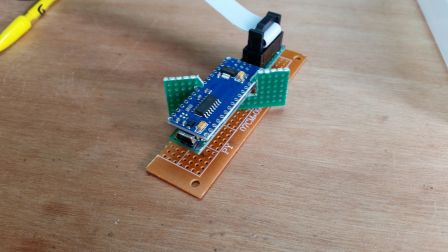
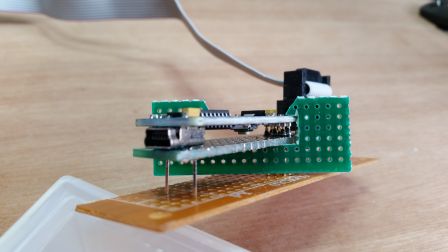
Here are a few pictures:
Notice the nice "clip" that guarantees a sufficient pressure so that the contact on the pogo pins is firm and stable.
Still many things to learn (in particular, this one lacks a way to force alignment of the board on the pogo pins), but the next one will be better 
Enjoy !
